Before you start
What this method is trying to achieve
Breading falls off when the layers never bond properly or the chicken cooks unevenly beneath them. This method starts with very thin, dry cutlets, uses flour only as a light dusting, drains excess egg, presses panko firmly into the surface and fries in small batches so the crust can set before handling.
Success looks like
Know the target before you cook
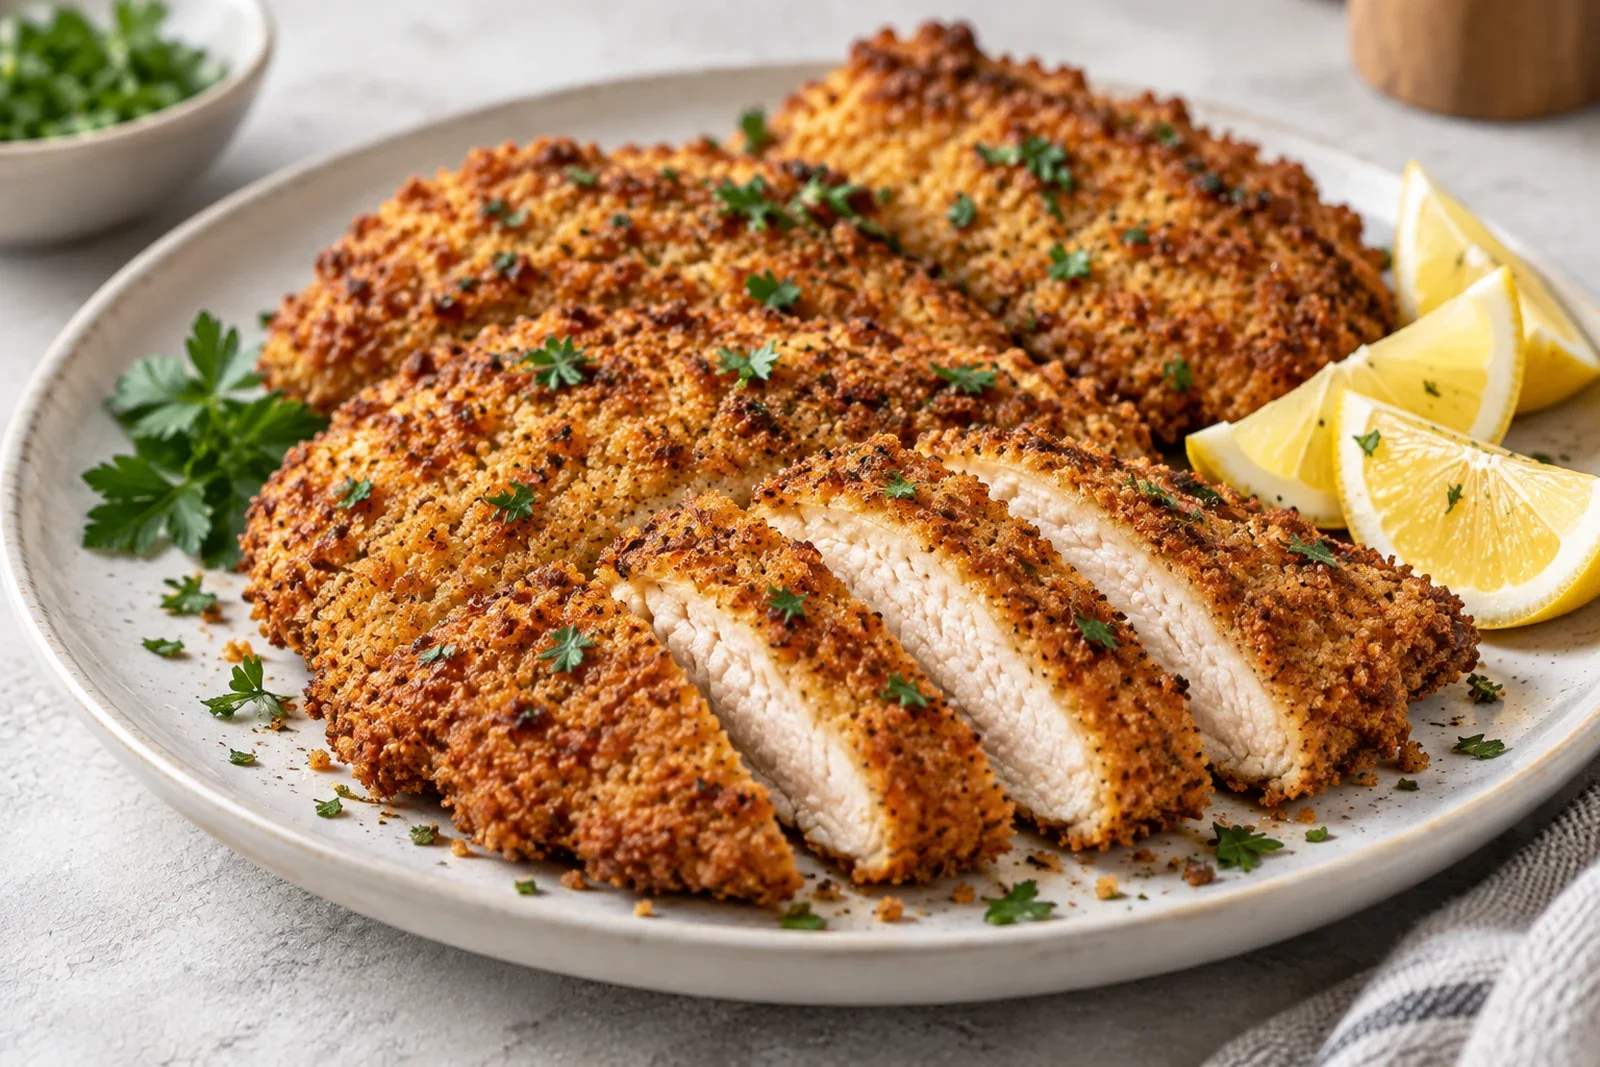
The coating should be evenly golden and crisp, stay attached when the cutlet is sliced, and surround chicken that is fully cooked yet still moist. The thickest part must reach at least 165°F / 73.9°C.
Ingredients
What you need
Chicken
- 4 pieces boneless skinless chicken breasts, sliced horizontally into 8 thin cutlets
- 1 tsp kosher salt — Divide between the chicken and breading.
- 1/2 tsp black pepper
Dredge
- 90 g all-purpose flour
- 2 large eggs, beaten with 1 tablespoon water
- 120 g panko breadcrumbs
- 35 g Parmesan cheese, finely grated
- 1 tsp dried oregano
Frying
- 120 ml neutral frying oil, more as needed — Use enough for a shallow, even film across the skillet.
Serving
- 1 lemon, cut into wedges — Optional.
Method
Cook by the cues, not just the clock
Make even cutlets
Pound the cutlets between sheets of parchment or plastic until they are about 6 mm / 1/4 inch thick and evenly shaped. Pat both sides dry, then season lightly with salt and pepper.
Set up dredge
Put the flour in one shallow bowl, beaten eggs in a second, and panko, Parmesan and oregano in a third. Keep one hand for dry ingredients and one for egg if possible.
Bread
Coat one cutlet in flour and shake off all visible excess. Dip in egg, let the excess drip back into the bowl, then press both sides firmly into the breadcrumb mixture. Set on a rack while you bread the rest.
Fry in batches
Heat a thin layer of oil in a large skillet over medium heat. Fry 2 or 3 cutlets at a time without crowding until the first side is crisp and golden, about 3 minutes. Turn once and cook the second side until golden and the thickest part reaches at least 74°C / 165°F, usually another 2 to 4 minutes.
Drain and serve
Move the finished cutlets to a clean wire rack rather than stacking them on one another. Season lightly while hot and serve with lemon wedges.
Critical checkpoints
Stop here and check
Before breading: is the chicken surface dry?
The cutlet feels tacky-dry rather than wet and shiny.Blot both sides again before adding flour.
After flour and egg: are the layers thin?
There are no thick flour patches and no heavy curtains of egg dripping from the cutlet.Shake off extra flour and let excess egg drain before pressing into crumbs.
At the first turn: did the crust set?
The underside is crisp and golden and releases as one coating rather than sliding off the meat.If the coating still looks pale and fragile, give it more time before turning and avoid moving the cutlet repeatedly.
At the finish: did the center reach 165°F / 73.9°C?
The thickest point reaches at least the USDA safe minimum without the coating becoming very dark.If the crust is ready first, lower the heat and finish more gently rather than burning the coating.
If yours looks different
Route the failure before changing the recipe
Why Does the Breading Fall Off My Chicken?
Why Is My Chicken Breast Tough?
After cooking
Storage, reheating & substitutions
Storage
Cool promptly and refrigerate in a covered container for up to 3 days.
Reheating
Reheat on a wire rack in a hot oven until the coating is crisp and the center is hot. A microwave softens the crust.
Substitutions
Fine dry breadcrumbs can replace panko for a tighter coating. Pecorino Romano can replace Parmesan. Use another neutral frying oil if preferred.
Evidence
Sources & methodology
Technical claims and method decisions are tied to sources. Recipe-specific advice is not presented as a universal food-science law.
- The Best Chicken CutletsFood Network Kitchen
Food Network's cutlet guidance emphasizes evenly thin chicken, a structured breading system, and frying in batches so the coating stays crisp and the chicken cooks evenly.
publisherPassage verified - To what internal temperature should I cook poultry?USDA Food Safety and Inspection Service
USDA FSIS states that poultry should reach a safe minimum internal temperature of 165°F (73.9°C) measured with a food thermometer.
governmentPrimary source